Tile flooring looks clean, polished, and effortless once it is finished. The surface feels solid, the lines are straight, and everything appears perfectly placed. However, what most people do not see is the detailed process that makes that finished look possible. Tile installation is not simply placing pieces on the floor. It requires planning, preparation, precision, and professional experience working together from start to finish.
At CW Floors and Lighting, we guide homeowners through tile installation projects every day. We manage everything from design and material selection to installation and long-term care. Because we are a full-service provider, we stay involved throughout the entire process and remain available long after the work is complete. Whether your project is large or small, the installation method makes all the difference. When tile is installed correctly, it can last for decades. When shortcuts are taken, problems can appear quickly.
If you want to understand what actually happens during professional tile installation, here is a clear step-by-step explanation of how the process works.
What happens before tile installation begins?
Before any tile is installed, preparation must be completed carefully and thoroughly. This stage is essential because tile depends on a stable, level foundation. Without proper preparation, even the best materials will not perform well over time.
The first step is evaluating the subfloor. The surface must be clean, flat, and structurally sound. If any areas are uneven, damaged, or unstable, they must be repaired before installation can begin. Because tile does not flex, movement beneath the surface can lead to cracks or loose tiles later.
Next, existing flooring must be removed. This includes carpet, laminate, hardwood, or old tile. Adhesive residue is scraped away, and the surface is cleaned completely so nothing interferes with bonding.
Moisture testing may also be performed, especially in bathrooms or homes with concrete slabs. Excess moisture can weaken adhesives and create long-term issues if it is not addressed early.
Finally, the layout is carefully planned. Measurements are taken, and the installer determines how tiles will be positioned throughout the space. A balanced layout creates a professional appearance and avoids awkward, narrow pieces along walls or edges.
Preparation takes time and attention to detail because it establishes the foundation for everything that follows.
How is the tile layout planned and marked?
Once the surface is ready, the layout is marked to guide the installation. This step ensures tiles are straight, evenly spaced, and visually balanced throughout the room.
Tile installers begin by locating the center of the space. Chalk lines are then snapped across the floor to create reference lines that form a grid. These lines help keep rows aligned during installation.
Dry fitting is often performed next. During dry fitting, tiles are placed without adhesive to confirm spacing, pattern direction, and placement of cut pieces. If adjustments are needed, they are made before permanent installation begins.
Planning the layout carefully prevents unexpected problems later and ensures the final result looks clean and intentional.
How is tile adhesive applied properly?
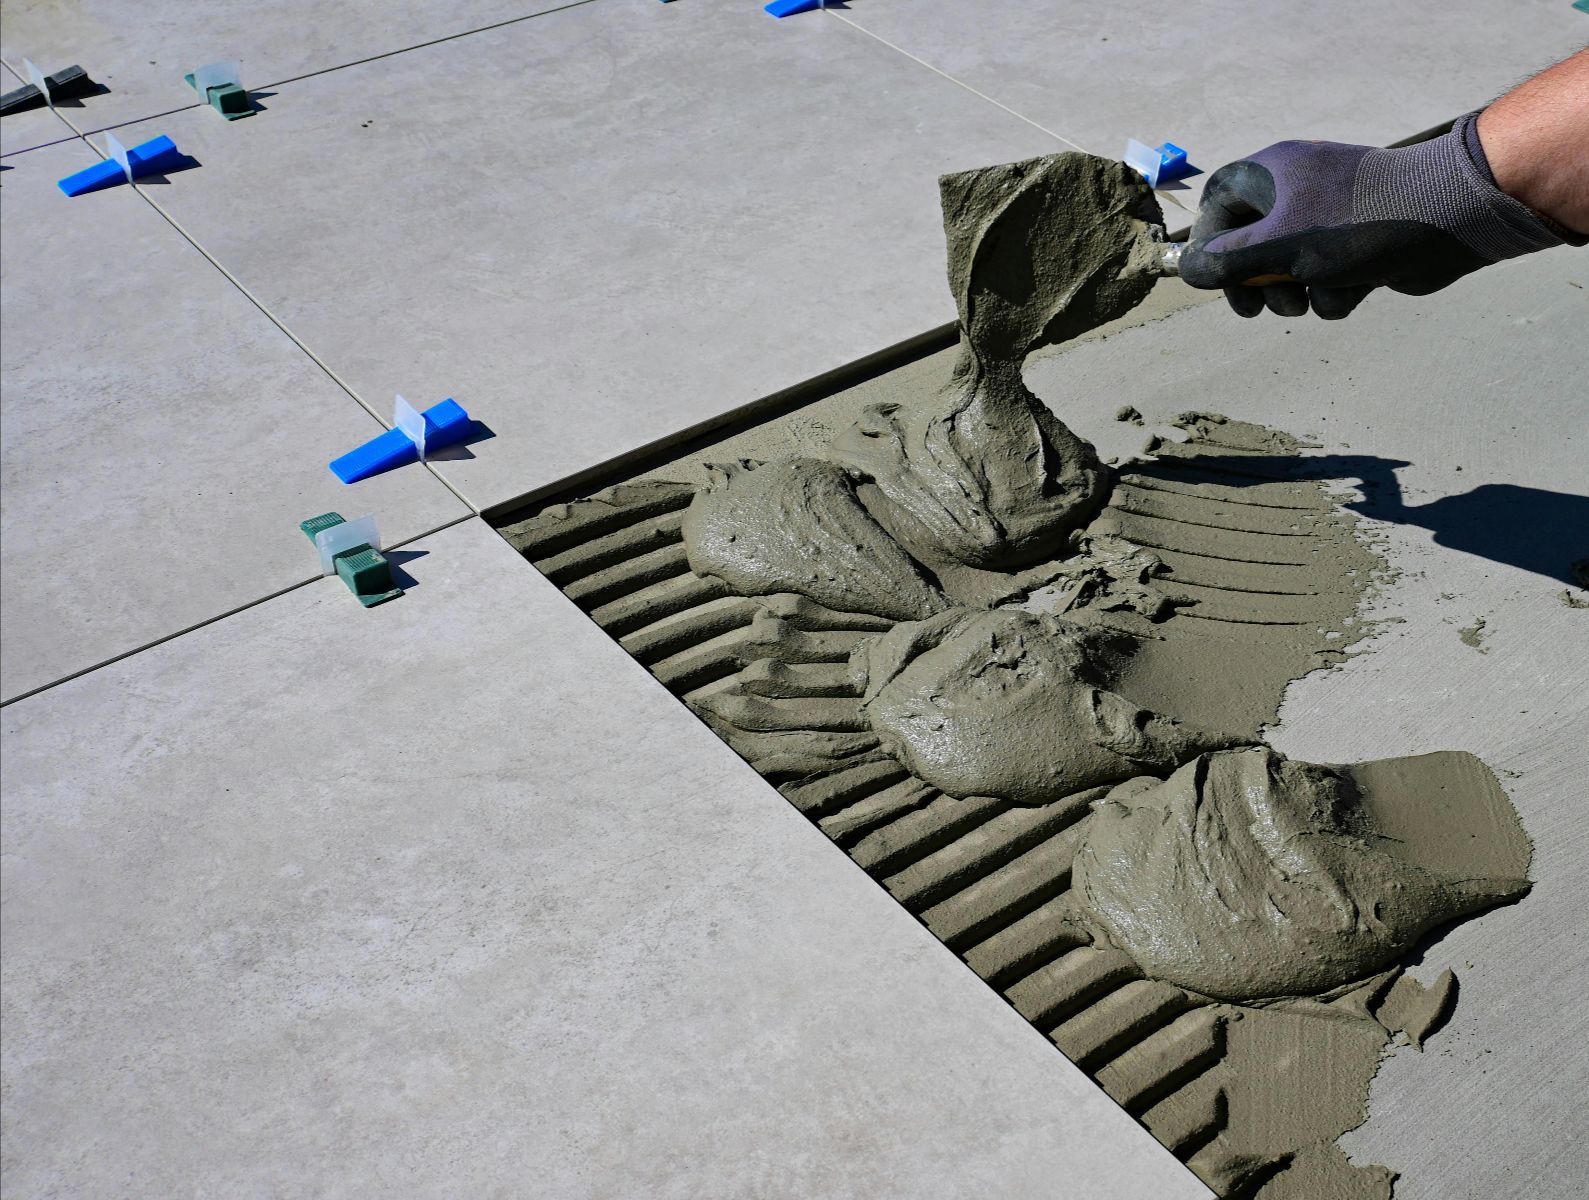
After the layout is confirmed, adhesive is applied to secure the tiles in place. The most common bonding material is thinset mortar, which is spread using a notched trowel.
The notches in the trowel create ridges that help distribute adhesive evenly and improve bonding. The trowel size is selected based on tile dimensions and thickness.
Adhesive is applied in small sections to prevent it from drying before tiles are placed. Working in manageable areas ensures consistent bonding and prevents wasted material.
For larger tiles, installers often apply mortar directly to the back of the tile in addition to the floor. This technique, known as back buttering, improves coverage and helps create a stronger bond.
Applying the correct amount of adhesive is important. Too little adhesive weakens the bond, while too much adhesive can cause uneven surfaces.
How are tiles placed and aligned correctly?
Once the adhesive is applied, tiles are carefully positioned. Each tile is pressed firmly into the mortar and gently twisted to ensure full contact.
Spacers are inserted between tiles to maintain consistent grout lines. Alignment is checked frequently throughout the tile flooring installation so adjustments can be made before the adhesive sets.
For large-format tiles, leveling systems may be used to keep adjacent tiles even with one another. These systems help prevent height differences between tiles and create a smoother finished surface.
Tile cutting is also an essential part of installation. Edges, corners, and fixtures require precise cuts, which are typically made using a wet saw for accuracy and clean edges.
Tile installation continues row by row until the entire floor is covered. After placement is complete, the adhesive must cure fully before the next step begins.
What happens during the grout installation process?
After the tiles are secure and the adhesive has cured, grout is applied to fill the joints between tiles. Grout helps stabilize the installation and protects the edges from moisture and debris.
Grout is spread diagonally across the tile surface using a rubber float. This technique forces grout deep into the joints. Excess grout is then removed using damp sponges.
Timing is very important during this stage. Cleaning too early can pull grout from the joints, while cleaning too late makes removal difficult.
A light haze may remain on the tile surface after initial cleaning. This haze is polished away once the grout begins to firm up.
Grout must cure completely before sealing or heavy use.
Why is sealing tile and grout important?
Many grout types and some tile materials are porous, meaning they can absorb moisture, dirt, and stains. Sealing helps prevent this absorption and protects the surface.
Sealer forms a protective barrier that improves stain resistance and makes maintenance easier. Natural stone tiles especially benefit from sealing because they are more absorbent than ceramic or porcelain.
Sealer is applied evenly, allowed to penetrate, and then wiped clean. Proper sealing helps preserve the appearance and durability of the floor.
How long does tile installation usually take?
The exact timeline depends on the size of the project and the complexity of the design. However, most residential tile flooring installations follow a similar schedule.
Typical timeline includes:
Day 1: surface preparation and layout
Day 2: tile installation
Day 3: curing time
Day 4: grouting and cleaning
Day 5: sealing and final inspection
Larger or more detailed projects may require additional time, but allowing proper curing at each stage ensures long-lasting results.
Why choose professional tile installation instead of DIY?
Tile installation requires more than basic tools and materials. It requires knowledge of surface preparation, layout design, moisture control, and material performance.
Professional tile installers understand how to prevent common issues such as cracking, shifting, or uneven surfaces. They also have the equipment and training needed to achieve precise results.
Our tile flooring installation teams are experienced, qualified, and fully insured. We stay up to date with industry standards and provide ongoing training to ensure high-quality work.
Because we manage projects from concept to completion, homeowners receive consistent support throughout the entire process.
What should homeowners expect after the tile installation is complete?
After installation, a final inspection is performed to ensure everything meets professional standards. Tile alignment, grout consistency, and overall cleanliness are carefully reviewed.
Homeowners receive guidance on care and maintenance, including when the floor can handle regular use and how to clean it properly.
Tile flooring is highly durable, but proper maintenance helps preserve its appearance for many years. Routine cleaning and prompt attention to spills help keep the surface looking its best.
Your experts on tile flooring in Rockwall and San Antonio, TX
Tile flooring installation is a detailed process that requires careful preparation, skilled artistry, and proper finishing techniques. When each step is completed correctly, the result is a durable, attractive surface that performs beautifully for years.
As a family-owned and operated flooring and lighting provider, we believe honesty and integrity guide every project we take on. Our professional installation teams care deeply about their work, and our buying power allows us to provide exceptional value from the beginning.
If you are planning tile flooring for your home, CW Floors and Lighting is ready to help. Our showrooms in Rockwall and San Antonio, TX, serve San Antonio, Denton, Rockwall, Dallas, and Fort Worth, TX. Call today!